By DoMyOwn staff
In this video, Paul addresses issues you can encounter while growing seeds and tips you should consider for maintenance.
So if you haven't been able to tell we've been buying some time for the weather to be nice to get our seedlings... outdoors.
We're not there yet, but we're much closer than we were before. We had some maintenance things to do on our seedlings, which is what this video's about, and most importantly we had to get the ingredients for our soil mix for our raised bed. But that's another video, and we'll get into that when we get to that point.
But like I already mentioned this video is all about the little tips and tricks that we've been using to keep our seedlings healthy and thriving... so that's what I want to get into, that's what I want to talk about in this video. Let's go over seedling maintenance tips.
The first and easiest thing we had to dco is raise our lights. Our seedlings were sprouting up so much they were actually starting to make contact with the lights. So we just raised them up ever so slightly so that the platns could keep growing and as the plants keep growing we'll just move the lights up with them. We've also stayed on top of lightly watering our seedlings.
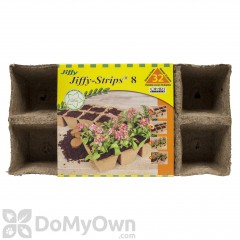
What I've been doing is just gently spritzing them until the water just pulls up ever so slightly on top of the soil. Now if you recall we planted about 3 seeds in each cell and the reason we did that, the reason we planted more than one, is some of those seeds might not germinate, some may be stronger than others, we just wanted to make sure that we get at least one seed to germinate.
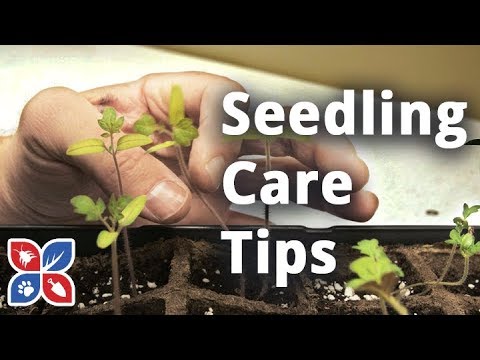
Out of those three seeds we got about 2 seedlings to pop up in each little cell. So now we wanted to go through and examine those seedlings and find the strongest out of each cell and get rid of the weaker ones.
So what makes for a healthy seedling? Well we looked for strong, sturdy stalks with lots of hair on them. The other indication that one was stronger than the other is that if it had secondary leaf growth.
When snipping out the weaker ones, you want to get as close to the soil level as possible, being extremely careful not to harm the stalk of the stronger one. Snip out the weak one and dispose of it.
Don't be tempted to leave that in your plant or tray or cell flat: just throw them away.
Now in doing all of this, you want to take note of any problems that may be going on. In our case, one of our cell containers was not germinating at all and it was actually getting moldy. In that case, we pulled it out and got rid of it.
Then we simply just pulled our remaining flats out of the center of the tray and placed them back under the light.
So we did all of that: things were looking really good... and then we made a fatal mistake.
That's what happens when you neglect to water them for a whole weekend. So yeah... because of that we lost two entire cell flats. One of those being all marigolds and the other being a tray of tomato seedlings. We also our nasturtium and zucchini that we had underneath our studio light inside the studio.
So we learned a very important lesson here: stay on top of your watering. This just goes to show you how important it is to water your seedlings daily and do not fall behind on that schedule.
We did not do that for an entire weekend. And on top of that, we also made the mistake of leaving the lights on so they dried out even faster.
Fortunately, we were able to save some of them: a decent amount actually. So we went through and found the healthiest looking ones and transplanted them into bigger pots.
So for the actual process of transplanting them into the bigger pots: here's what I did.
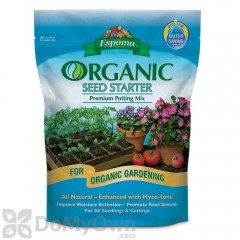
I started out by filling them too much. Then, as I got into a rhythm of doing it, I filled them about halfway before putting the seedling in.
I then took our smaller cells apart and exposing the roots of our seedlings ever so carefully, I made a hole big enough in our new pots, put them in, and then back filled them with soil.
Then, I topped off the soil, leveling it, and lightly packing it in, making sure not to compact it too much.
After that, I lightly watered them all until it slightly started to seep out of our new pots.'
Once all of them were transplanted, I put them back under the lights inside of our grow tent.
So that's where we're at, that's what we've done: we'll just maintain those pots and hope for the best.
Now that we've got beautiful spring weather among of us, it's actually time to get our soil mixed up and ready for our bed.. but guess what? that's another video for another time.
If you have any questions on products I used in this video, I'll leave the links in the description box below so you can go over to DoMyOwn.com and ready more about em.
And if there's anything I left out or if you have any other questions on anything we talked about in this video, feel free to leave those in the description box below, email them over to the customer service staff, or pick up the phone and give us a call.
And if you're not already, subscribe to the channel by clicking this button right here, click this playlist to see all the videos in the Do My Own Gardening Series, and click this playlist to see the videos in the Do My Own Lawn Care series.
And as always... thanks for watching.