
Herbicides, fungicides, and fertilizers are just some of the many products used for lawn care purposes. Using and applying these products is simple if you know what you are doing, but may be slightly confusing if you have never used the product before. We've created this guide to make using lawn care products easier.
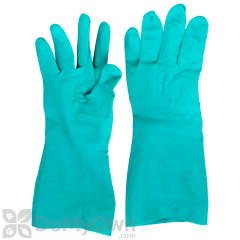
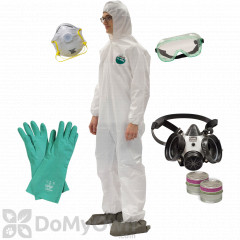
Use this guide to learn how to use liquid and granular products. As with any chemical product, be sure to wear personal protective equipment (PPE) such as gloves, long-sleeves, and closed-toe shoes when mixing and applying product. Check the label of your product to see which PPE you will need during your application.
How to Mix and Apply Liquid Chemicals
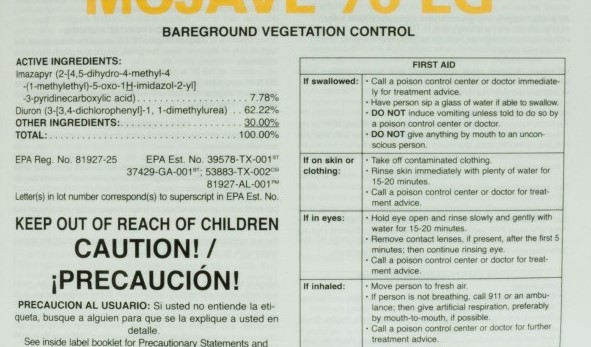
Select Product and Read the Label

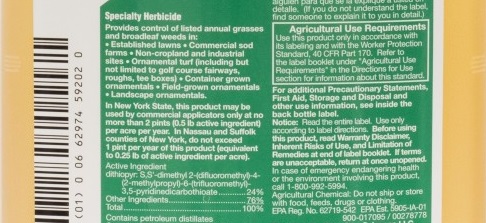
Select the liquid product you will be using for your lawn care treatment and read the label thoroughly. The label will cover what the product will and will not treat, mixing rates (how much water to mix/dilute the product with), the type of equipment you can use to apply the product, and where you can and cannot apply the product. The label will also cover the size of the area the product mixture will cover (for example: one ounce of product mixed with one gallon of water will cover 1,000 square feet of lawn).
Mix the Product
If the liquid product needs to be mixed with water, use the rate indicated on the label.
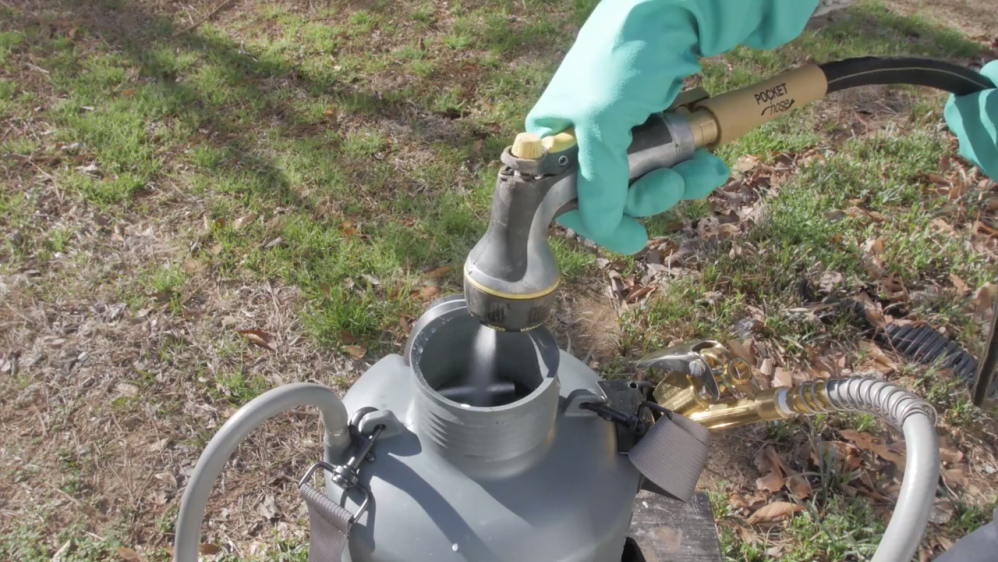
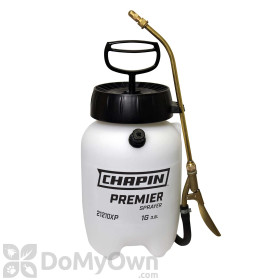
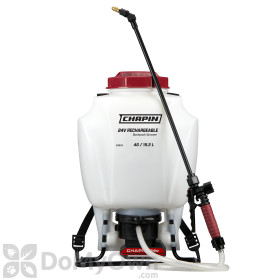
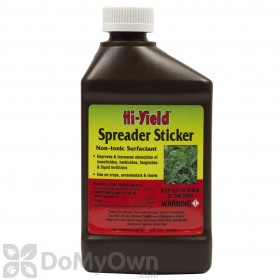
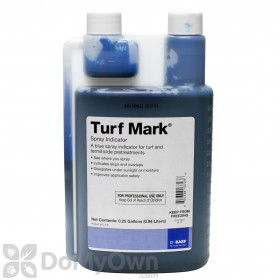
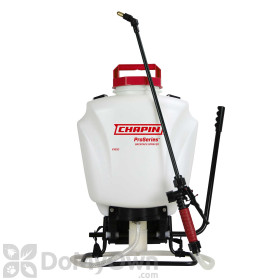
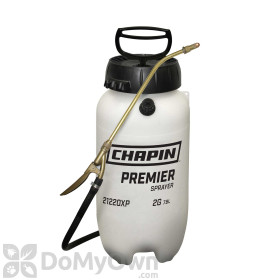
Add half of the water needed to a hand pump sprayer, backpack sprayer, or ATV sprayer, then add the product. If you are adding any additional product, such as a surfactant or spray indicator dye, you would add that product to the sprayer at this point as well. Add the rest of the water and replace the top on the sprayer. Then, shake the sprayer vigorously to thoroughly mix the chemical product and water together.
Products needed for Step 2

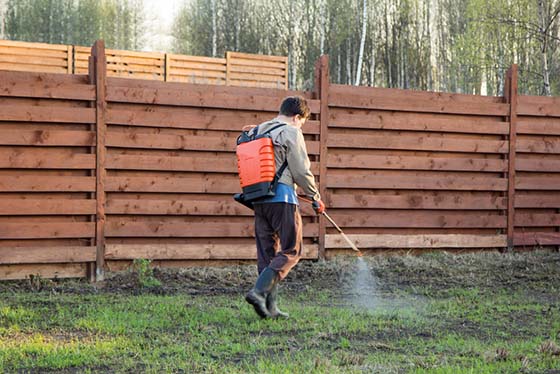
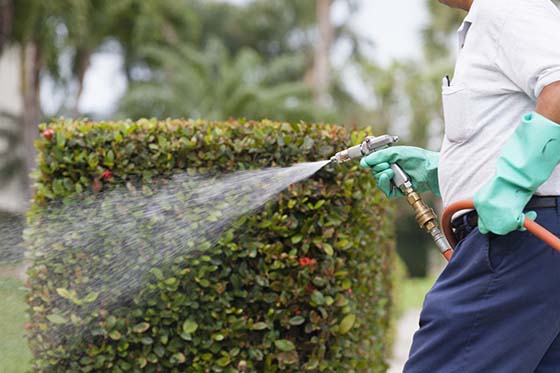
Spray Product
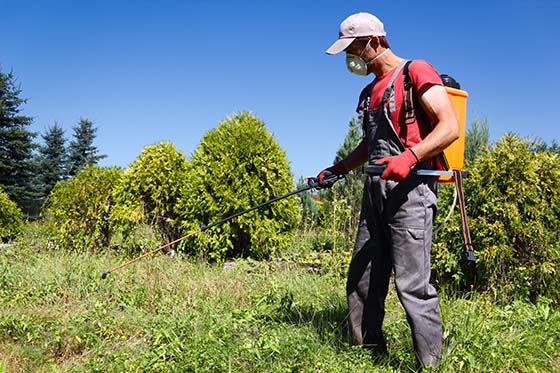
Once the liquid product is mixed with water, it is time to spray. Depending on the product, the application rate will vary. (Note: Not all products need to be mixed with water. Consult the label to see if mixing is necessary.)
Herbicides are typically applied in lawns, crops, and ornamentals (plants). Read the label of your herbicide to see where it can and cannot be sprayed, and if it is compatible with your grass-type.
Fertilizers are usually applied to the entire lawn, while fungicides are either applied across the entire lawn as a preventative measure or on affected plants when fungus is present. Read our guide on fungicides to learn more about where and when to apply liquid fungicides.
When spraying your lawn, walk back and forth across the lawn in rows to ensure an even spray. Spray indicator dye will help determine where you have and have not sprayed to help you keep track.
Pro Tip
The best time of day to apply your liquid insecticide is early in the morning or after sundown. This will help avoid turf damage, which can happen if the insecticide is applied under full sun.
Avoid applying certain products, like post-emergent insecticides, after the temperature is 85 degrees or higher outside to avoid turf damage.
Pre-emergent insecticides are soil temperature dependent, meaning they must be applied after the soil thaws but before the soil reaches a certain temperature (usually 60 degrees). Even though pre-emergents are soil temperature dependent, it is still wise to apply in the early morning or evening. Read our guide on spring pre-emergent insecticides for more information on soil temperature.
Read the label of your liquid product for any temperature, location, or time of day application restrictions.
Clean Your Sprayer
Be sure to empty and clean your sprayer with water and a sprayer cleaner after use. Leaving chemicals in the sprayer and not cleaning can transfer old chemicals to new chemicals, affecting future applications and causing the sprayer to wear down faster than it normally would. Watch the video above for more information on cleaning your sprayer.
Products needed for Step 4
How to Apply Granular Products
Select Your Product and Read Label
Many herbicides, fertilizers, and fungicides come in granular form. Granules can vary in size, from small pebbles to an almost sand-like consistency.
Select the granular product needed to treat or prevent your lawn problem. Then, read the label of the product to determine how much product should be applied to your lawn and if the product is compatible with your grass-type. A product that is not labeled for your grass-type will not be as effective and may cause some damage to your lawn.
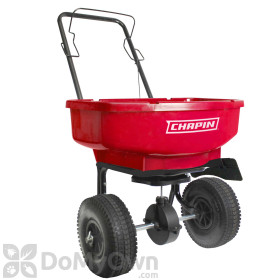
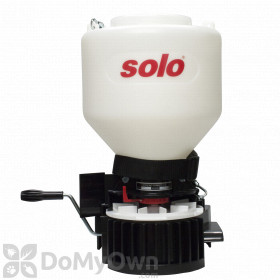
Calibrate Your Spreader
Use either a push spreader or hand-held spreader to apply your granular product. Read the label of the product for the usage rate and calibrate your spreader accordingly. This will determine how much product will be released from your spreader as you walk or push.
Watch the video above for a demonstration of how to choose a spreader setting.
Products needed for Step 2
Apply the Granular Product
Now, walk the length of your yard with your spreader, releasing the product as you go.
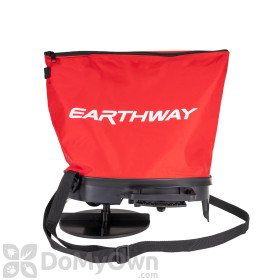
To use a hand-held (portable) spreader:
Walk the length of your lawn, creating lines as you walk back and forth, while you press or turn the handle of your spreader. Try to create an even layer of granules across the lawn. You do not need to cover every square inch in granules but should instead focus on spreading the granules evenly across the lawn.
To use a push or broadcast spreader:
After calibrating your spreader, walk the length of your lawn once, placing the spreader guard down to prevent granules from landing on the concrete of your driveway or sidewalk.
Then, remove the spreader guard and walk the length of your lawn again, pushing the spreader the opposite way. Continue to make "rows" back and forth along your lawn in order to cover the entire lawn in granules.
Make sure the granules throw back to the tire marks of the previous row. This will help the granules spread evenly.
Watch the video below for a demonstration of how to use a granular spreader to apply granules to a lawn.
Pro Tip
Granule herbicides should be applied when the temperature outdoors is between 65-85 degrees. Applying granule herbicides when it is hotter than 85 degrees can result in turf damage.
Granule insecticides are not temperature dependent. Read the label of your granule product for any temperature, location, or time of day application restrictions.
Water It In
Most granular products need to be watered in (meaning the lawn should be wet down) to release the active ingredient of the granules in the lawn. To water in, simply spray your lawn with a hose or sprinkler. You can allow rain to do the watering in if the rain falls within 3 days of applying the granular product.
Read the label of your granular product to be sure the product needs to be watered in.
We hope this guide has helped you learn how to use liquid and granular herbicide, fungicides, and fertilizers. If you have any questions about these application methods, give our customer service team a call at 866-581-7378 or email us at [email protected].