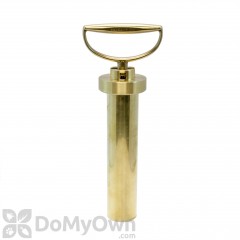
This is the B&G Pump Assembly. This is comprised of many different parts all of which I am about to cover right now. You can buy all these parts on our website down to the tub, the handle, the plunger rod, and the tip cap. If you were to pull this apart, you'll notice that there is some red grease that keeps it very well lubed. We also sell the red grease on our website, along with all the spreader cups, the nuts, and the washers. These are all the parts that make up the pump assembly. The most important two parts are going to be these two gaskets. The top gasket which is P268, and the bottom gasket which is PV266. These two gaskets will be the ones that you want to take care of the most. If you're pumping your pump up and it's not holding pressure, it's either because the PV266 is failing or this top GD168 is failing. If these two are failing you're not going to maintain pressure in your pump. And that's why these two are so important to keep replaced.
The nice that we have on our website is a GD124 replacement kit, which is every single piece that you would need to rebuild the whole entire pump assembly. It has the replacement springs, the PV266, the grease, the spreader cap, and it also has the bottom spring and the top spring. Another good thing to note is that if you get the kit, it's impossible to put the wrong part in the wrong place because of the way they're sized. So as you'll notice, this only fits around the tub, and this fits neatly up against the spreader cup. And so it's very hard to use the wrong thing in the wrong place.
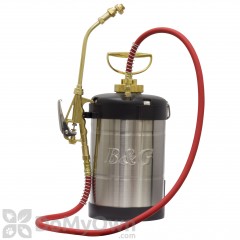
The short spring goes right here under the threaded rod, and the long spring goes inside. For more information on the B&G Tank Assembly please click below. And, if you like this video please subscribe to our YouTube Channel.