Do My Own Gardening - How to Plan and Plant a Garden
By DoMyOwn staff
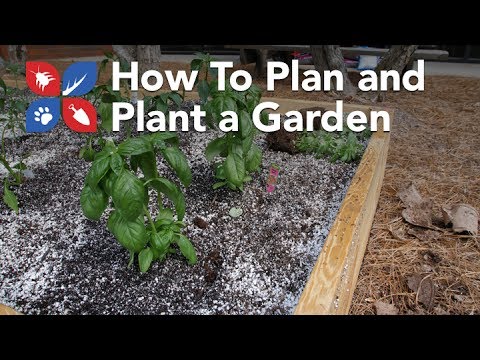
The soil is in and ready for plants! In this episode, Paul will go over how to plan and plant the tomatoes, peppers and basil in the raised garden bed. He will also go over some simple tips and tricks that will really help make the garden thrive!
Related Products

Video Transcript
Time to start doing some planting!
Let's first talk about what we're planting and why. First up tomatoes. We've got early girls and super sweets. These tomatoes are going to be ready in about 50 to 60 days after planting. And the reason we're doing plants versus starting from seed, it's just way to late in the year to try and throw seeds into the ground and grow them from that. So we've gone down to our local nursery and picked up these plants; we'll just transplant them into our raised garden bed.
The next thing we're going to be planting are peppers. We have Serrano peppers, Poblano, Jalapeno, and lunch box orange peppers.
We also have two different kinds of basil. We have sweet basil and lime basil. The reason we're doing peppers and basil, if you'll remember the two people that helped me build the box, they wanted peppers and basil in the garden, so, that's what we're doing.
Plus basil just smells really really good!
So now let's talk about how we're going to design or plant our plants in the garden box.
What I'm going to do is I'm going to take them out of their little trays here and just kind of mock them up in the garden box, and then we'll start the actual planting. And after I get it mocked up, we'll talk about why we're doing it that way. Let's start with our tomatoes.
So this is the general idea, our tomato plants are going to get the most room. They need about 24 inches apart to really thrive and establish themselves and succeed. Our pepper plants only need about a foot apart for them to really thrive. So we're going to do a cluster of four here, and a cluster of four in the back. With our basil plants, same kind of story, we're only going to do just one row of basil on this side, and they only need about a foot to really thrive and grow. So let's get to planting.
So after we pull it out of its little container, we want to gently pull apart the bottom so that we can get the roots to establish themselves in our existing soil. We'll dig down a little v into our soil, then we'll put our plant in, and simply just put our soil back into place.
Now when we're planting out plants, we want to plant it with the stalk pretty much all the way down to the soil, but not too much to where our leaves are touching the ground, so, if you plant to far down just go back in there, pull it up, put some soil underneath it, and you're good to go!
What's cool about tomato plants, and this one's a really good example; it had a really long stem on it. So we buried it a little bit deeper than normal. The reason we did that is, you can have roots sprout off from the stem. So we put it down in there a little bit deeper so that those roots can really establish themselves and create a strong healthy plant.
So there we go! All of our plants are planted. Everything's looking good. We're happy!
So the reason I went ahead and put in the tomato cages, is for spacing. I went ahead and put the tomato plants in, and then I put the cages on top of them, and I noticed that these were a little bit too close to this one. So, it took me less than a minute to pull them out, move them down a little bit, put them back in there, and put the cages over them. So, this will give me an idea of how the garden is going to take shape, how they're going to grow up, how much room I've got for everything, and it just lets me keep an eye on it, and just have better control.
It's also going to help promote healthy growth by giving the young stems something to hang onto or latch onto, so that they can grow upwards. For example, this one, these limbs right here were touching the ground. We were able to put our cage in, lift these limbs up, and gently place them on the cage so that they have something to support them so that they can grow up and thrive.
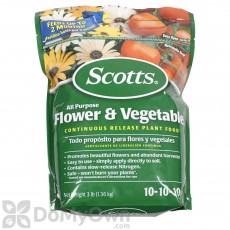
Another thing we want to do is give each one of these plants a little bit of fertilizer. We're going to take some 10-10-10 and sprinkle it around each plant. This is called side dressing, and the reason we want to do this is to minimize the shock of the plants getting into the bed. It's going to give them a little bit more nutrients, it's going to help them, thrive, it's going to help the roots get down and establish themselves and just really make them a little bit stronger going from essential the potted plant to the bed.
After we get our fertilizer down, we're going to give it a good soaking so that fertilizer can get down into the soil, and start to work. After we do that, we're going to put down our mulch.
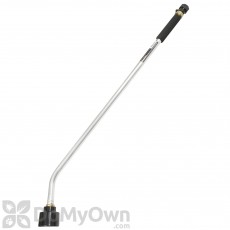
The reason we use that wand, is we want to water in the fertilizer really well. We also want to give the roots a nice good drink!
We're doing this late in the afternoon. Not exactly the best time but it's what we've got to work with. The optimal time to do this is early in the morning when temperatures are cooler.
The reason for doing this early in the morning is the root system can soak up that water and use it through out the day. If we do it in late evening, as it goes on into night time, that water can just pool up, plants aren't actively absorbing it, and that can cause a problem because it will let disease set in from the water not getting soaked up.
The next thing we're going to do is put down some mulch. We're working a little bit backwards here. Typically we would run our soaker hose system throughout our garden, but we're going to go ahead and put down our mulch, because we've got some significant rain rolling in. We don't want all of our new soil to wash out from that rain, so we're going to go ahead and put up our protective barrier down with our mulch.
But before we even do that, we're going to go ahead and wet our garden bed, one more time. We already soaked the roots really well, now we're going to soak the entire raised garden bed, so that we can retain some moisture down in there, to help the plants thrive. After we've done that, it's on to the mulch.
Let's talk about the mulch real quick. There's lots of schools of thought out there as to which mulch you should use. Some people will use wheat straw, some people will use pine straw, some will use wood, some will use bark, some will even use newspaper.
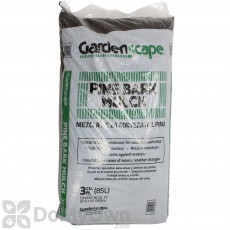
I reached out to our local extension office, asked them what we should use, they said it's fine if we use plain pine bark. So that's what we did. Grabbed a couple of bags of pine bark, we put it down in our bed, we're good to go!
The rain is rolling in, the bed's all set up and ready to thrive!
That's it for this video. Next video, we're going to talk all about irrigation. The types of systems you can set up and how to actually water your raised garden beds.
If you have any further questions, leave them in the comments section below, shoot our customer service staff an email, or pick up the phone and give them a call.
Make sure to follow along by clicking this button to subscribe to our channel and click this playlist to see the other episodes in the Do My Own Gardening series.
And as always, thanks for watching!