By DoMyOwn staff
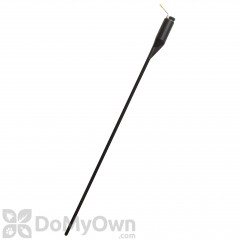
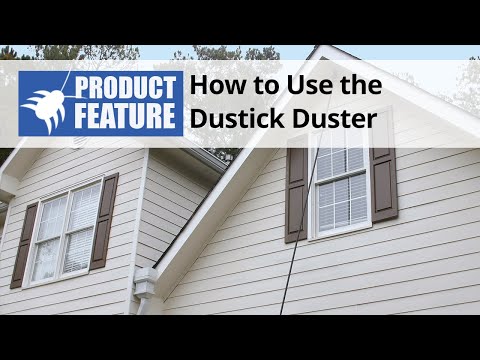
The Dustick Duster is perfect for treating carpenter bees, wasp nests, or other pests that are difficult to treat with handheld dusters and sprayers. When fully assembled, it can reach heights over 21 feet high.
Treating for carpenter bees, carpenter ants, and damaging pests around two-story homes can be difficult and dangerous (*image of ladder/falling off ladder*). The Dustick Duster makes it easy to address these pests without the use of a ladder.
The 21-foot-long dusting stick can reach areas that typical dusters cannot, including two-story decks, windows and shutters on upper floors, flood lights, and the eaves and soffits of a roof.
The Dustick is commonly used to apply insecticide dust to the holes left by carpenter bees but can also address damage from carpenter ants and be used to apply dust to wasp and bee nests.
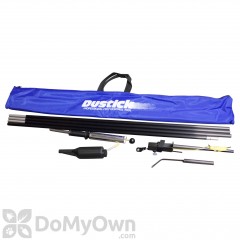
The duster comes in a convenient canvas bag and can easily be assembled and disassembled for simple storage.
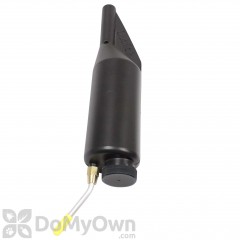
Before assembling the Dustick, unscrew the cap of the duster and fill three quarters full of your insecticide dust. Then, replace the cap and remove the rubber stopper from the end of the duster tip.
While holding the duster in one hand, add the stick with two ball joints on either end to the bottom of the duster, latching the part into place with the holes at the bottom of the dust cannister.
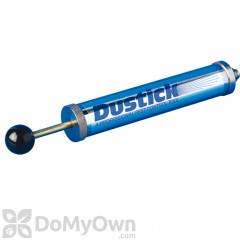
If you want more height, continue adding sticks below the cannister, stopping once the duster reaches your desired height. Once your duster has reached its desired height, add the bottom pump to the last stick.
Do not assemble with the duster laying flat as the duster will be very top heavy and may snap when you pick it up. Instead, assemble vertically, adding one stick part at a time. You may want to rest the duster against a tree trunk, post, or the side of your structure while assembling as the stick will be over 20 feet tall once fully assembled.
Never use the Dustick sideways, always upright as the stick may snap and break when used sideways. Give the duster one or two practice pumps away from the home to make sure the dust is flowing. Then, you can begin treatment.
To use the duster, place the duster tip into the hole, crack, or crevice where you will be applying the dust. Then, pump the bottom of the duster a few times. You will see dust emerge from the tip of the duster as you pump. Only one or two pumps is needed per hole. Then, move to the next hole and repeat the process.
When dusting, wear sunglasses or safety goggles in case dust falls near your face.
Before dusting any active hives or nests, be sure you are wearing long sleeves and pants and that the area is cleared of pets and children. Treat hives and nests in the evening when wasps and bees are more likely to be in the hive or nest but are less active.
When dismantling the Dustick, reverse the order you assembled the stick, starting with the bottom pump and removing each stick. Once you get to the dust cannister, empty any unused dust before storing in the canvas bag.
Read the label of your insecticide dust to determine how often the dust will need to be reapplied.
Consider upgrading to the Dustick Deluxe kit. This kit includes a scrapper tool to help you remove hard-to-reach nests and an extension that enables you to spray aerosol cans in second story eaves and soffits, between siding, and in out of reach carpenter bee holes without the use of a ladder.
And it's that easy with the expert help from DoMyOwn dot com. Subscribe to our channel for more DIY and product videos.