Have a Question? Ask Our Pros!
Average Rating
There are no reviews for this product yet. Be the first.
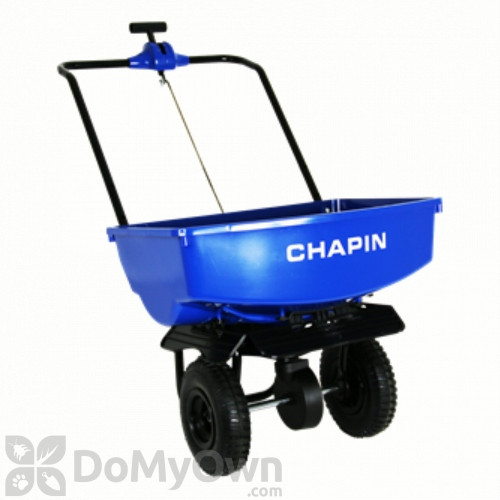
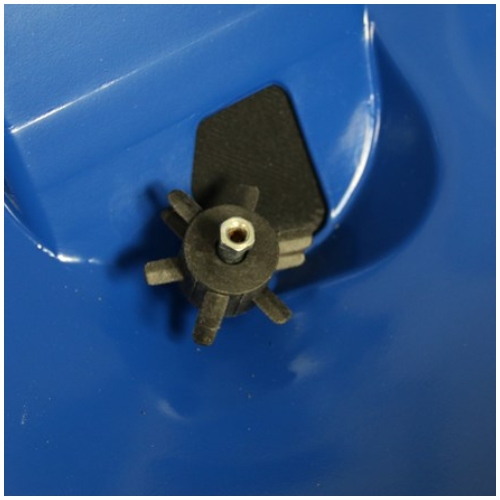
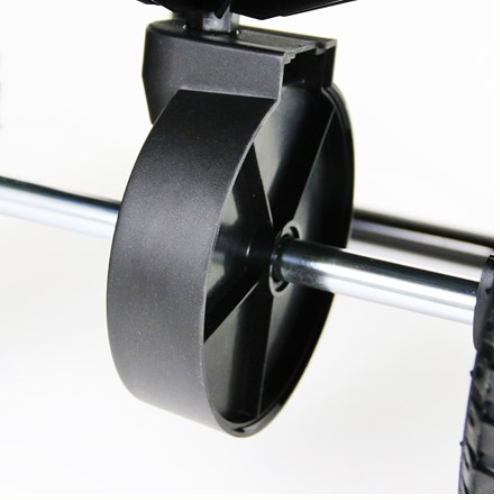
Chapin 8003A 70 - Pound Residential Salt Spreader with Baffles is a fully assembled broadcast spreader that makes application of materials easier. This 70-lb. capacity hopper is constructed of powder-coated steel frame with 9-in. pneumatic wheels that roll easily on ice and snowy surface. It features an adjustable front and side baffles that allows better directional control of spread, plus adjustable gate settings, providing easier and more accurate distribution of salt. It also has an adjustable opening to let you spread a broader range of products, along with a spiked auger to minimize clumping. Product holds up to 70-lbs.
| For use in | Lawns. |
|---|---|
| Dimensions | 32 x 34 x 22.5 in. |
| Coverage Area | Spread width: 10-12 ft. |
| Material / Construction | Powder coated steel frame, Poly. |
| Special Features | Adjustable gate control for accurate spread settings. Pneumatic tires for better traction against snow and ice. |
| Warranty | 1-Year Limited. |
| Shipping Weight | 11.30 lbs |
| Manufacturer | Chapin (Mfg. Number: 8003A) |
| UPC | 023883080037 |
Suggested Tools:
General Operating Instructions:
There are no reviews for this product yet. Be the first.
There are no questions for this product yet. Ask the first.