Have a Question? Ask Our Pros!
Average Rating
There are no reviews for this product yet. Be the first.
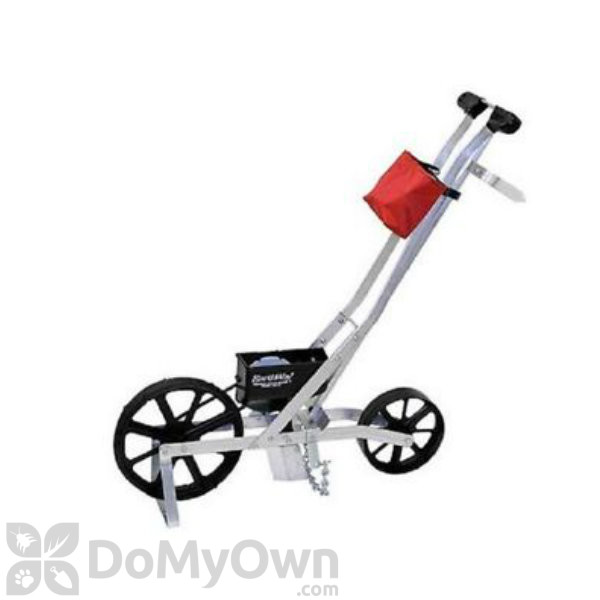
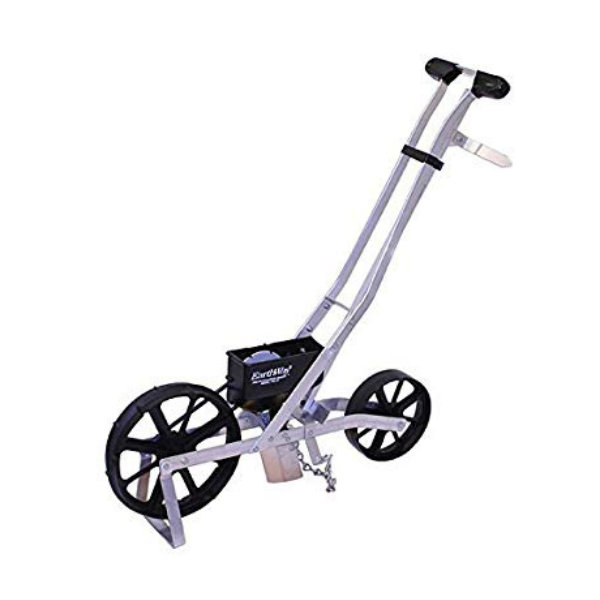
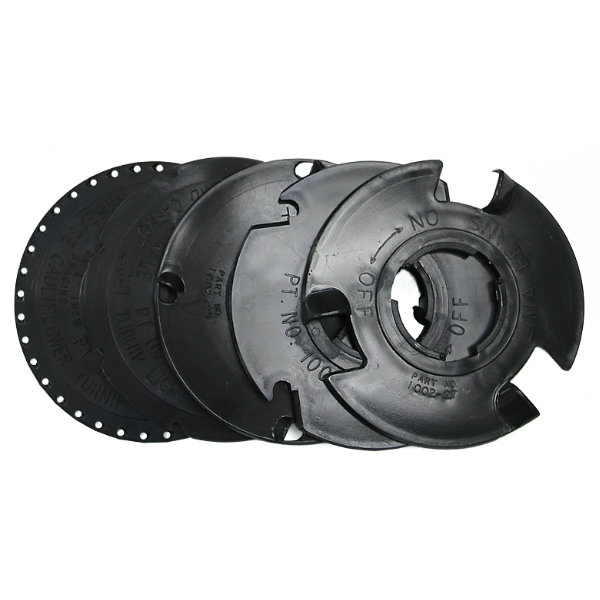
Earthway Precision Garden Seeder is a must-have tool when it comes to gardening. It is specially designed to make planting row crops more convenient and hassle-free. Made with high-quality materials so it is proven to last long. The Earthway Precision Garden Seeder comes with an aircraft aluminum semi-assembled frame to ensure stability and easier control of the seeder. It features a row marker that comes with a row marker retaining clip to make sure it is secured. Its rustproof-wheels are perfect for rough and bumpy surfaces. This ideal row crop planter has six precision seed plates that can be used for carrots, turnips, lettuce, sweet corn, small and jumbo peas, beans, leeks, beets, radish, okra, spinach, and swiss chard. It has a ground opener that can be easily adjusted depending on the seed. Offers durability and excellent performance plus, a five-year limited warranty.
Product Documents
| For use in | Outdoors, vegetable gardens, flower beds. |
|---|---|
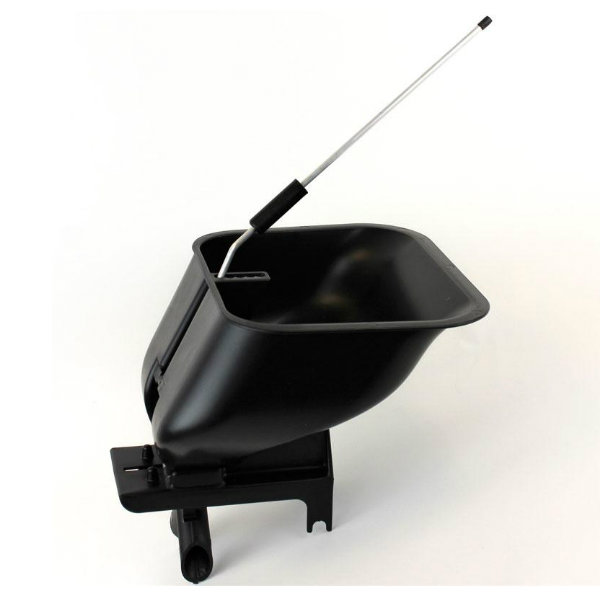
| Application | Install one of the precision seed plates that best fits your seed, then adjust the depth of planting on the ground opener, and then set your row marker for the desired width, then fill the seed hopper with seeds, then begin pushing in your well-tilled soi |
| Material / Construction | All aircraft aluminum. |
| Special Features | Comes with six precision seed plates. |
| Warranty | 1 Year Limited Warranty. |
| Parts Included | An adjustable ground opener, 30 |
| Shipping Weight | 10.00 lbs |
| Manufacturer | Earthway (Mfg. Number: 1001-B) |
| UPC | 052732100121 |
PRECISION GARDEN SEEDER - Assembly
REAR WHEEL
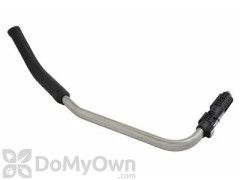
HANDLE
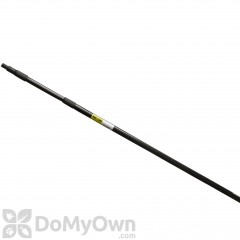
ROW MARKER
Precision Garden Seeder - OPERATION
NOTICE: Keep your seed hopper clean and free from dust, sand, dirt, and seed treating materials.
There are no reviews for this product yet. Be the first.
There are no questions for this product yet. Ask the first.