Get the Most out of Your Handheld Sprayer
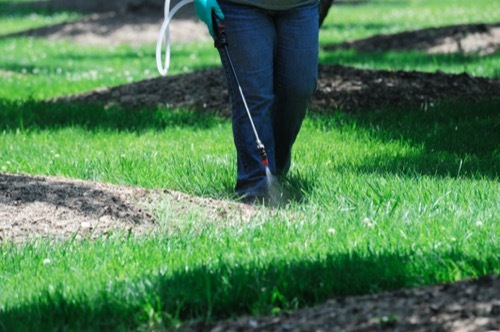
Portable sprayers are a great solution for applying insecticide and other liquid lawn care and pest prevention products around your home or business. They can be a reliable tool that will serve you well for many seasons, but some care should be taken when a sprayer is not in use.
Maintaining your handheld or portable sprayer is an important part of your home care routine. Read on to learn more about how to keep a portable or handheld sprayer operating at its best.
Learn the Parts of Your Sprayer
Familiarizing yourself with the working parts of your portable sprayer is an important step in keeping it in good working order. There are different types of sprayers available, but hand pump and backpack sprayers usually share these common parts, regardless of manufacturer.
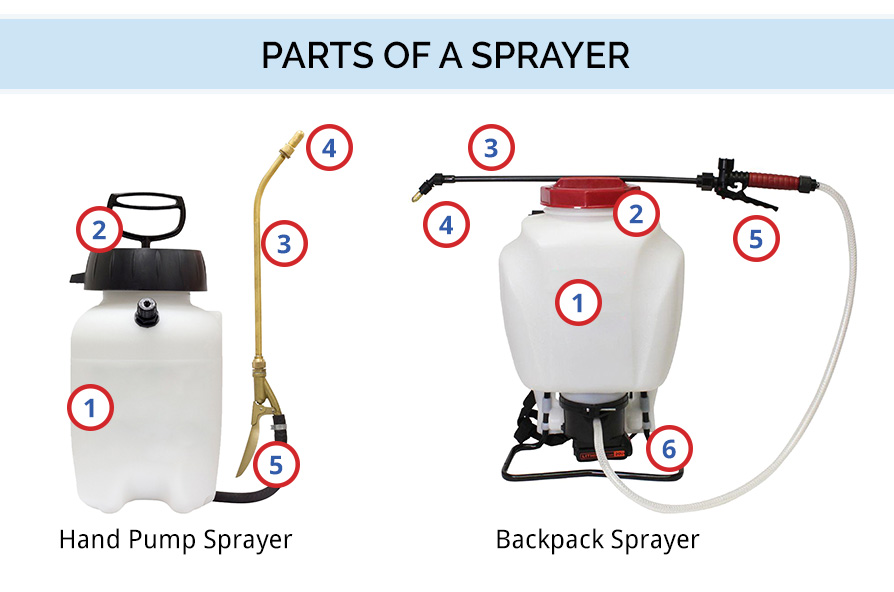
1. The tank. This is where the liquid is held.
2. The top. The handle/pump is included in the top of a hand pump sprayer.
3. The spray wand. This is where the liquid moves from the tank to the nozzle.
4. The nozzle. This is where the liquid is released from the sprayer. Some sprayers have adjustable nozzles or different nozzles available, allowing the user to control the size and height of the band of liquid being sprayed.
5. The trigger lever. This allows the user to turn the spray on and off. Depending on the manufacturer, this can also be called a handle, lever, or valve. For the sake of consistency, we have called it a trigger lever in our guide.
6. The battery pack. In backpack sprayers this would be found in the back of the sprayer. In smaller sprayers, this would be found in the front of the tank or in the top/handle. Not all sprayers have battery packs.
Seven Steps for Keeping Your Sprayer Clean All Year
Follow these steps for proper maintenance of your portable sprayer after each use.
- Drain the sprayer and rinse with clean water
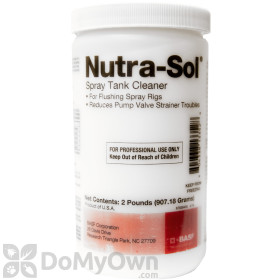
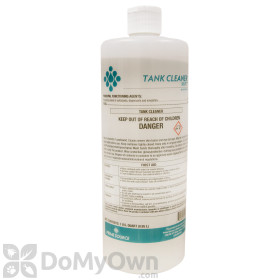
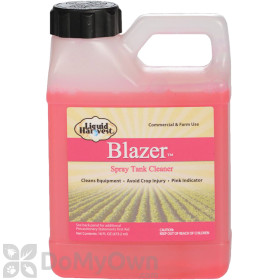
- Fill the tank completely with clean water and an appropriate detergent
- Spray this mixture out through the nozzle(s)
- Clean all nozzles, screens, and filters
- Rinse the entire system again with clean water
- Store your sprayer in a clean, dry place that won't reach freezing temperatures
- Leave the cap askew to allow for complete drying of the tank
These are general guidelines that will apply to most portable sprayers, but always follow the manufacturer instructions included with your sprayer. Cleaning and upkeep methods will vary between models.
Keep an Eye Out for Sprayer Wear
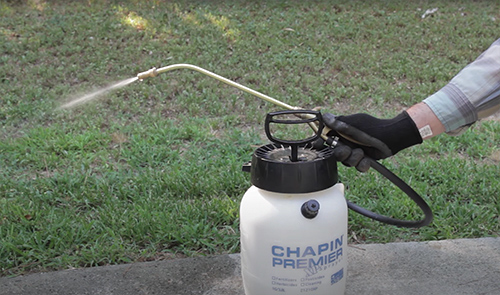
Before each use of your sprayer, it's a good idea to give the equipment a quick visual check. Do you see any dry or cracked parts? Any unusual gaps you haven't noticed before? Some sprayers work best with regular lubrication of certain gaskets or rings at connecting points.
Filling the tank with water and taking your sprayer out for a trial run can save you time and trouble. If there are any leaks in the hose or other parts of the sprayer, it's best to discover them before you've filled the tank with insecticide or herbicide product.
With regular maintenance, your sprayer should work well for a number of years, but parts do occasionally wear out. Most manufacturers offer repair kits or individual parts for purchase, and many of those can be found right here on DoMyOwn.com. Find replacement parts and repair kits for several of our most popular sprayer manufacturers below.
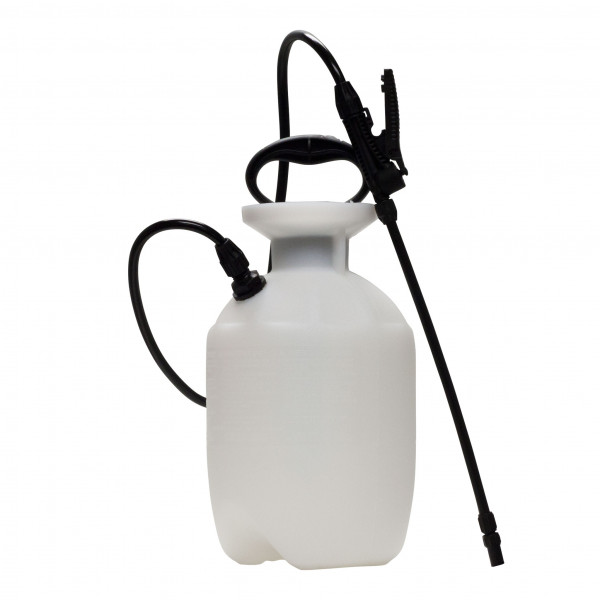
If you have questions about which sprayer is best for the jobs you need to perform, whether a portable sprayer is sufficient for treating your lawn, or which products work best with a particular sprayer, give us a call or connect with us for a chat and we'll be glad to help. Check out our Sprayer Buyer's Guide for pointers on which sprayer is right for you.
