
Two-Step Treatment Process

While you can save a lot of money by doing your own termite treatment, undertaking your own termite treatment can be time consuming and labor intensive. If, after reading through the instructions below, you do not feel comfortable doing your own termite treatment, we recommend you hire a reputable professional pest control company that specializes in termite treatments to do the treatment for you.
Select a method below to learn more about how to treat for termites, or continue reading to learn how to get rid of termites in two steps.
If Possible, Treat the Termite Nest Directly
Drilling into voids or wood:
Drilling hole(s) may be required to gain access to the area where you suspect an infestation to apply the product of choice. You may need to drill into drywall to apply the product to a wall void or directly into infested wood to direct treat the termite gallery. When drilling into drywall, it is recommended that you drill holes about 18 inches up from the floor and in between each stud around the infested area. When drilling directly into wood it is recommended that you drill small holes every 3-4 inches until you find a spot where the drill bit does not meet resistance. This will indicate you have hit the termite gallery and the area where you should apply the product you have chosen.Apply termiticide:
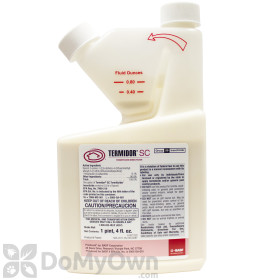
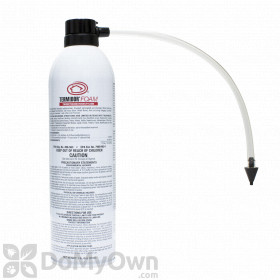
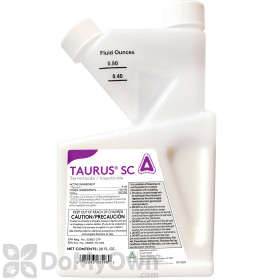
Apply the termiticide product directly into the drilled holes according to the product label. We recommend Termidor SC or Termidor Foam.Be patient.
It is important to be patient when using a non-repellent product as they can take up to 90 days to eliminate the existing termites.Pro Tip
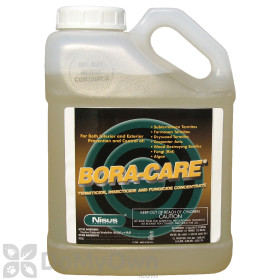
If you choose to use a borate product such as Boracare to eliminate the current infestation and to protect wood against future infestations, you should perform the outdoor soil treatment first and wait 90 days before using the Boracare. Using the Boracare first can cause the outdoor colony to branch off in a different direction, which, in turn, can allow the termites to invade a new area of your structure.
If you choose to use a concentrated non-repellent product it is important that you have a dedicated sprayer just for this use. If you use herbicides or other insecticides in the sprayer, you could leave behind a residue that could adversely affect the non-repellent properties of the concentrate.
Products needed for Step 1
Termite Trenching
- It will insure that the sub colony that was gathering food inside the structure will be eliminated as they exit the home (this is especially important if you were not able to directly treat the nest.
- It will stop new colony members from moving into the home.
The treatment outlined below is general and is outlining a subterranean termite treatment on a home or structure that has been built on a monolithic slab. If you have a question about what that is, or if you have a home on a crawl space, a hollow block foundation, a structure on piers or a structure on a floating slab, we recommend you give us a call at 866-581-7378. We will walk you through the treatment process for your particular situation. Please remember to read the entire product label for complete instructions.
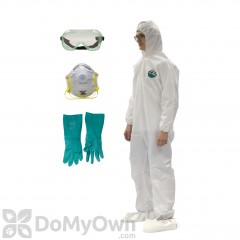
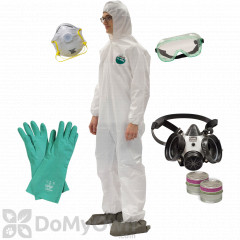
Tools Needed:
- Trench shovel or pick axe
- 5 gallon bucket
- Hand pump sprayer
Tools needed if you have concrete interrupting areas that need to be trenched:
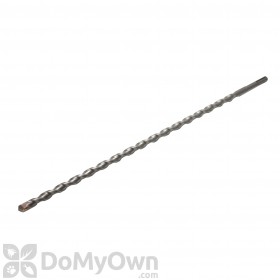
- Hammer drill (can be rented from home improvement stores)
- 1/2" x 18" or 1/2" x 24" concrete drill bit
Dig trench:
Using the pick axe or trenching shovel, you should dig a 6" wide by 6" deep trench directly against the foundation of the exterior wall where the termites were found. The foundation of your house will make up one side of the trench. The trench should be at least 10 linear feet long or stretch down the entire exterior wall that was infested.Mix termiticide solution:
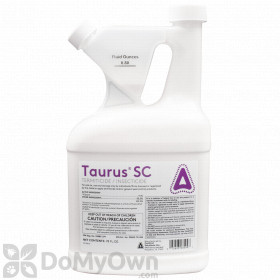
After the trench is completed you can mix the termiticide solution. We recommend using the 5 gallon bucket for this step. Fill the bucket with 4 gallons of water. Add the recommended amount of concentrated termiticide as per the product label. Stir the solution thoroughly with a paint stirrer or other tool until the concentrated liquid is evenly dispersed in the water.Apply solution to the trench:
You will need to pour 4 gallons of finished solution in every 10 linear feet of trench. Be sure to pour slowly to make sure the solution is evenly distributed.Treat the soil that was removed from the trench:
As you are moving the soil you removed from the trench back into the trench you need to make sure it is also treated with termite solution. Using the hand pump sprayer loaded with one gallon of finished termiticide solution, spray down the soil as you are replacing it back into the trench. Spray the soil just until moist.Drilling through concrete:
If concrete such as a carport slab or sidewalk is against the foundation in the area where you need to treat, you will be required to drill through the concrete to apply the termiticide solution to the soil. Using the hammer drill with a 1/2" x 18" concrete drill bit, come out 2-3 inches from the foundation and drill holes every 12" into the concrete along the foundation wall.You are not only drilling through just the concrete here, but also as deep as you can into the dirt. The deeper the better. Once the holes are drilled, you fill at the same rate you did the trench, 4 gallons per 10 feet. If you drilled the holes 12 inches apart, then you would have 10 holes over 10 feet that you are trying to fill with 4 gallons. This works out to be a little less than half a gallon per hole. To fill these holes, it is recommended to use a one gallon sprayer on a "pin stream" setting so you can force the liquid down the hole and not splash it everywhere. You can also use a funnel and pour the termiticide down the holes. It is difficult to get 4 gallons per 10 feet in the holes, so it is important that you use a long drill bit, at least 18" long so you can bore out enough dirt to hold the termiticide. Sometimes the ground is slow to soak up the termiticide you place in the holes. You may need to fill the holes, then go work on something else for an hour, come back and fill them again, go work on something else... 3 to 4 times to get the proper amount down the holes. Once the holes are filled all you need to do is patch them with a concrete patch filler you can buy at a home improvement or hardware store or you can use our Trebor plugs that will close the hole with no concrete mess.
Pro Tip
If you choose to use a concentrated non-repellent product it is important that you have a dedicated sprayer just for this use. If you use herbicides or other insecticides in the sprayer, you could leave behind a residue that could adversely affect the non-repellent properties of the concentrate.
Products needed for Step 2

Subterranean Termite Treatment Infographic
(Click to View Full Graphic)
