
The modal id field is required.

Price/Ea.
$45.92
Buy 2 or more: $41.92 each
Have a Question? Ask Our Pros!
Email Our Pros
We're here to help
Offline. Leave Us a Message
You May Also Need
-
Product Overview
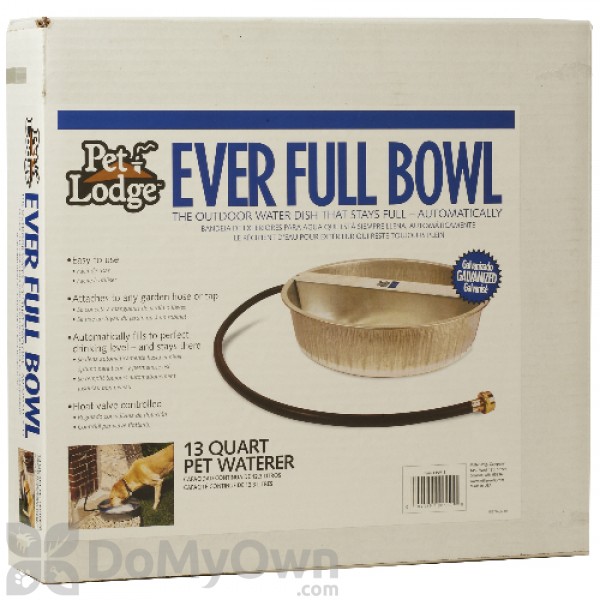
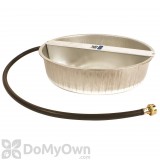
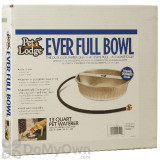
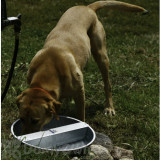
Pet Lodge Galvanized Ever Full Pet Bowl 13 qt. is an automatic outdoor watering system designed to be attached to a standard three-fourths garden hose. The bowl fills to the right drinking level once the tap is turned on. An automatic float inside the water dish is what controls the water level preventing the water to overflow or spill. The water in this bowl is automatically replenished, maintaining a clean and fresh supply of water for your dog and other animals. Molded from heavy-gauge galvanized steel for long years of service under hefty use and does not require major assembly. This automatic water dish can hold up to 13 quarts or 3.25 gallons of water.
-
Details
Material / Construction Galvanized Steel Shipping Weight 3.62 lbs Manufacturer Miller Manufacturing Company (Mfg. Number: PW13) UPC 084369003100 PREPARING FOR USE
The metal float cover may be removed to help with the assembly process by removing screws and lifting out.
- Place rubber washer inside larger end of adapter.
- Screw supplied adapter onto float assembly and tighten. It is highly recommended to add plumbers tape on male end of float assembly before attaching to adapter.
- Screw male end of supplied hose into adapter and tighten. It is also recommended to add plumbers tape on male end of hose before attaching to adapter and only attach supplied hose to adapter. Other garden hoses may leak inside adapter due to different fittings.
- Attach female end of hose to water supply and turn water on. Wait approximately 15 minutes.
OPERATING TIPS: If the water flow does not stop
- Make sure water supply pressure is below 50 psi.
- Make sure float arm moves up and down freely without binding.
- Make sure float is not hitting the metal float cover when closed.
- Remove float pin and float arm assembly:
a. Check for water inside the float. Replace SW23 float if necessary.
b. Remove any debris from valve tip or valve seal and test.
c. Replace SW8 seal and test. (Additional seal is provided on side of the float arm).
d. Check SW20 valve tip for chips or cracks. Replace valve if necessary. -
Product Documents
-
1 Customer Reviews
Top Reviews
Not bad
By Priscilla on 06/26/2020
The hose that comes with it is worthless. I had to attach a regular hose to it.
-
Questions & Answers