Never done your own DIY pest control treatment? No worries, we have you covered! Whether you've just moved into your first place or have realized it's cheaper to do it yourself, we have the tools and products you'll need to get started.
DoMyOwn works with first-timers every day to empower them to do it themselves. Once you learn the basics of pest control, you will see that regular pest control treatments are simple and straightforward.
Read below to learn the basics of getting started, including:
- Why you should regularly treat your home
- How to read a product label
- How to create and apply your liquid insecticide mixture
- Why you should use insecticide dust
Preventative Treatments vs. Control Treatments
There are generally two reasons to do your own pest control. Either you want to prevent pests from entering your property or you need to remove pests that are already on your property.
By applying monthly pest control treatments around your home, you can keep most pests away. Preventative treatments are also handy if you have dealt with a particular pest in the past and want to stop a future infestation.
Treating active pests will take more pest-specific products and treatments. Check out DoMyOwn's library of pest control guides for more specific instructions on how to get infestations under control, including ants, roaches, bed bugs, and rats.
What You Need to Get Started - Preventative
Before you can apply a preventative pest control treatment, you will need to have both the product you plan to use and the equipment needed to treat the affected area.
For basic general pest control, a one gallon hand pump sprayer is an essential piece of equipment. Many pest control products, known as insecticides, are liquid. The insecticide is mixed with water in the sprayer and then applied around the home. Unless you have an extremely large property, a one gallon hand pump sprayer will get the job done.
In addition to the sprayer, you will need to select a general insecticide. Here is what to look for when selecting an insecticide:
- Where can I apply the insecticide? Some insecticides are labeled for indoor use only, others are outdoor use only. Some products can be used both indoors and outside.
- What does the insecticide control? How many pests are mentioned on the label? Does it control the major pests found in my area?
There are many general insecticides on the market that can be used both indoors and outdoors and are labeled to control multiple pests. They include Temprid FX, Suspend SC, and Bifen IT.
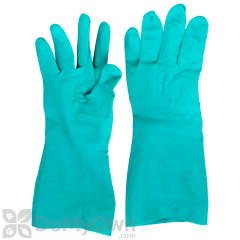
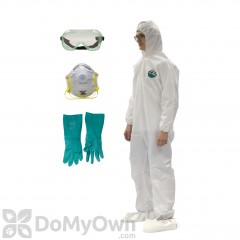
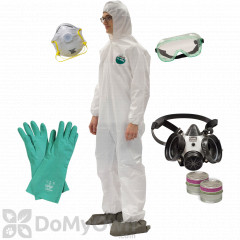
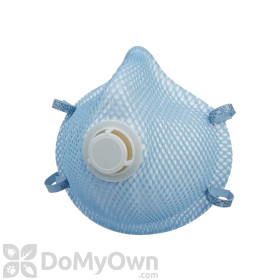
Personal protective equipment, including chemical gloves, long sleeves, pants, and closed toe shoes, is also a requirement for your applications to keep you safe from spills and sprays.
Pro Tip
Rodents are not controlled with insecticide spray. Instead, baits that include rodenticide are used for rodent control. Learn more about how to bait for rodents in our rodent prevention guide.


The Importance of Always Reading the Label
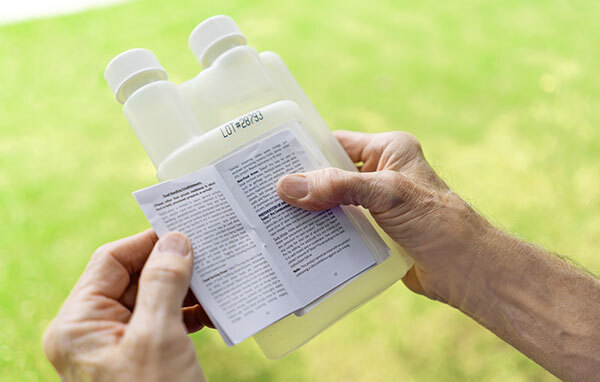
Every pest control product will have a label that includes the application instructions, the pests it controls, where the product can and cannot be used, how much product to use per application, and how often it can be reapplied. The LABEL IS LAW! You must follow the instructions on the label for your own safety and to be sure you have the most effective pest control application possible.
Be sure to read the labels on both the front and back of the bottle.
How to Create Your Insecticide Mixture
Once you have your sprayer and insecticide, you are ready to mix and apply.
Don Your Personal Protective Equipment

Wear long sleeves, closed toe shoes, pants, and chemical gloves when mixing your insecticide. You can also wear goggles or sunglasses to protect your eyes from splashes.
Products needed for Step 1


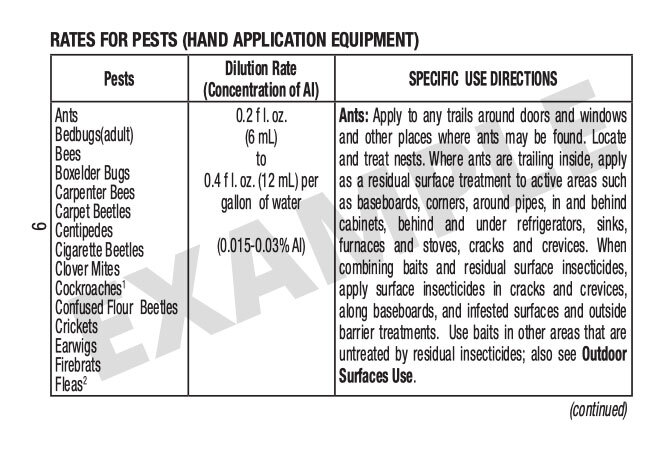
Read Your Product Label
Read the label of your insecticide to determine the amount of insecticide and water needed. The label will typically recommend a certain number of ounces of insecticide per 1 gallon of water.
You will need to know how many linear feet the perimeter of your home is to determine how much product will be needed for your treatment. If you do not know your linear footage (hint: it is not the same as square footage), check out our guide on how to measure your home for perimeter pest control.
Add Water and Product to the Sprayer
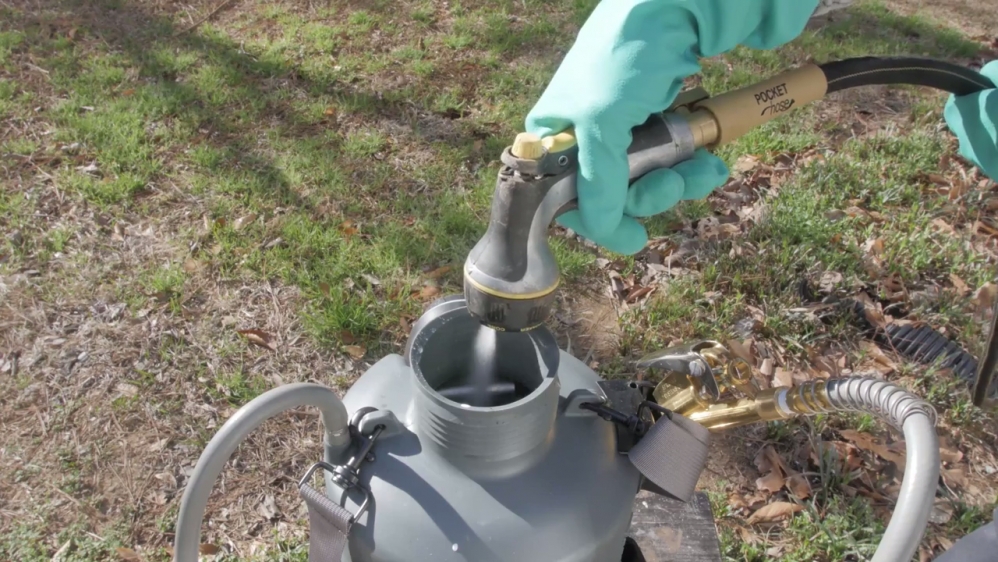
Add half the water needed to the sprayer, then add the recommended amount of insecticide to the sprayer. Close the lid of the sprayer and shake the water-insecticide mixture together. Then, add the remaining water. Close the lid and shake again to combine your mixture.
*Some products may recommend adding 1/4 to 1/2 of the water and insecticide to the sprayer at a time, then shaking to agitate. Check the insecticide label for product-specific mixing instructions.
Pump and Begin
Give your sprayer a few pumps to pressurize and you'll be ready to begin your application. You will need to pump your sprayer every few minutes to retain pressure.
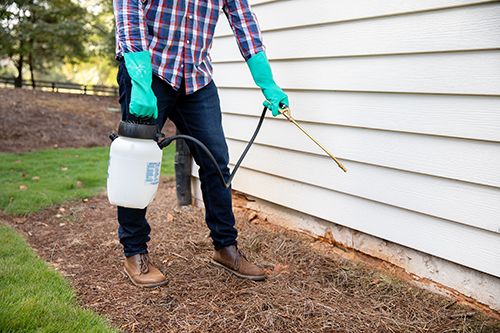
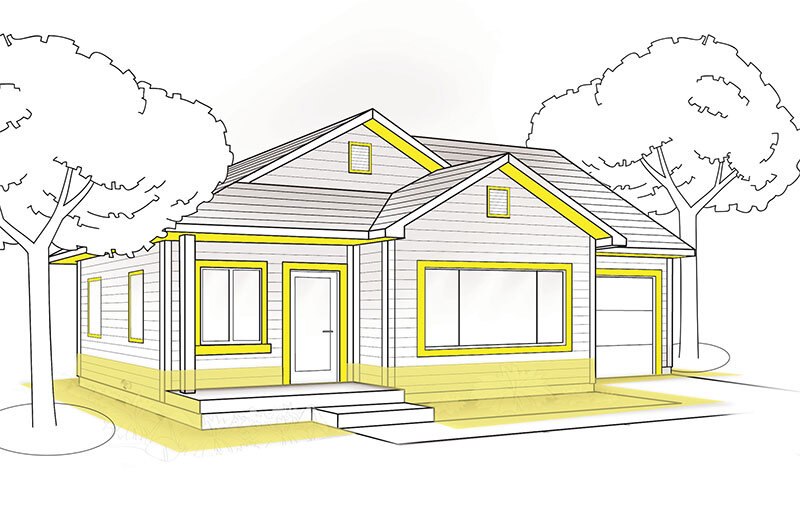
How to Apply Your Outdoor Perimeter Pest Control
Once you have created your insecticide mixture, you will walk the perimeter of your home, spraying the following areas:
- Up and out from the foundation of the home. Up means from the ground up the side of the home, and out means from where the ground meets the foundation out toward the yard. Most product labels advise spraying 3 feet up and 1 foot out, but others have tighter or looser restrictions. Check the product label for how high up and out you should spray.
- Around door and window frames
- Around where pipes, wires, and utilities enter the home
- Around vents and soffits
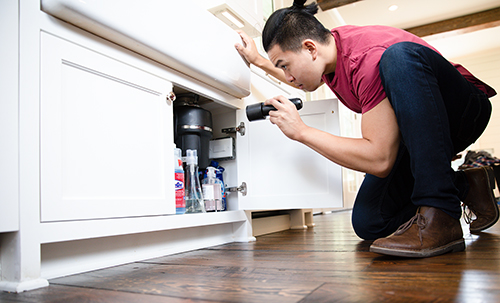
How to Apply Your Indoor Pest Control
The goals of indoor preventative pest control are: to keep pests out of the home, and to intercept other pests who do enter with the active ingredients of the insecticide to kill them before they multiply into an infestation. You will want to focus your indoor pest control on areas of the home where pests may enter or hide.
Spray your insecticide in the following areas:
- In the corners of rooms and closets
- Along baseboards and where baseboards meet the floor
- Around door and window frames
- Beneath appliances, like stoves and refrigerators
- Where pipes enter the home or the wall. For example, around the pipe beneath the sink.
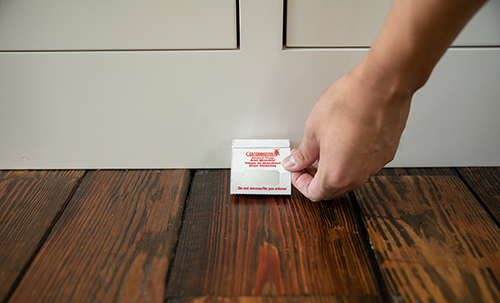
After your insecticide treatment, check the progress of your treatment with glue boards. Glue board traps can be placed in the corners of rooms and beneath appliances and furniture. If you consistently see pests on glue boards from one room or area of the home, you'll know where to focus reapplication efforts and where a pest-specific product may be needed.
Re-Apply and Rotate
We advise re-applying your general pest control treatments, both indoors and outside, every 30 days. This will ensure coverage. Insecticide can also break down in heat, floods, snow, and storms, so additional applications outdoors are necessary.
Using the same insecticide over and over may lessen the effectiveness of your pest control application over time. Instead, we recommend rotating the insecticides every few months. Select insecticides with different active ingredients to increase the effectiveness of your application.
The DoMyOwn Pest Control Subscription Program takes the guesswork out of selecting insecticides and rotating active ingredients for outdoor pest control. Subscribers receive different insecticides each month, customized for their property size. Learn more about how you can receive a discount on insecticides, equipment, and more.
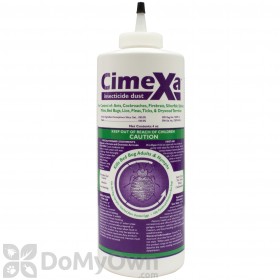
Insecticide Dust
Insecticide dust, also known as insect killer dust, offers additional protection against pests. Pests will walk through the dust and slowly die. Because it takes some time for pests to perish after contact with insecticide dust, it should be used with liquid insecticide for maximum results.
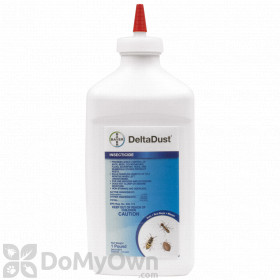
Insecticide dust is long-lasting and can be placed in small cracks and crevices that liquid insecticides may not be able to reach. Some dusts, like Delta Dust, are water resistant and can withstand the elements.
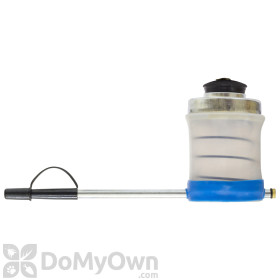
We recommend applying insecticide dust in the following areas using a duster:
- Cracks and crevices around the home, including cracks in the foundation
- In the corners of rooms
- In wall voids
- Where pipes and wires enter the home
- Beneath appliances
- Along baseboards
- In attics and crawl spaces
Fill your hand duster halfway with dust and turn upside down for best results. You may also want to place a few marbles or coins in the duster to break up clumps in the dust.


If you have any questions about getting started with your DIY pest control treatments, give our expert customer service team a call at 866-581-7378 or email [email protected].