
Have a Question? Ask Our Pros!
Average Rating
There are no reviews for this product yet. Be the first.
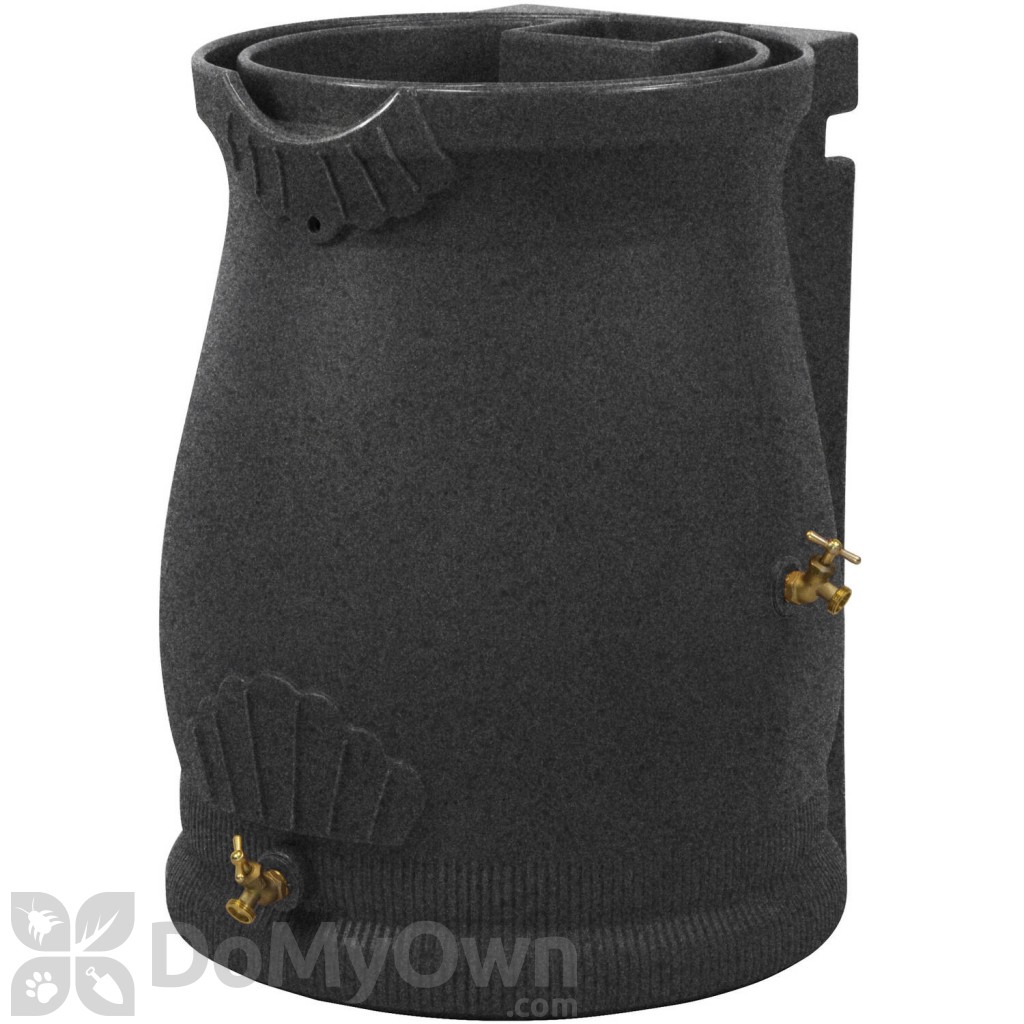
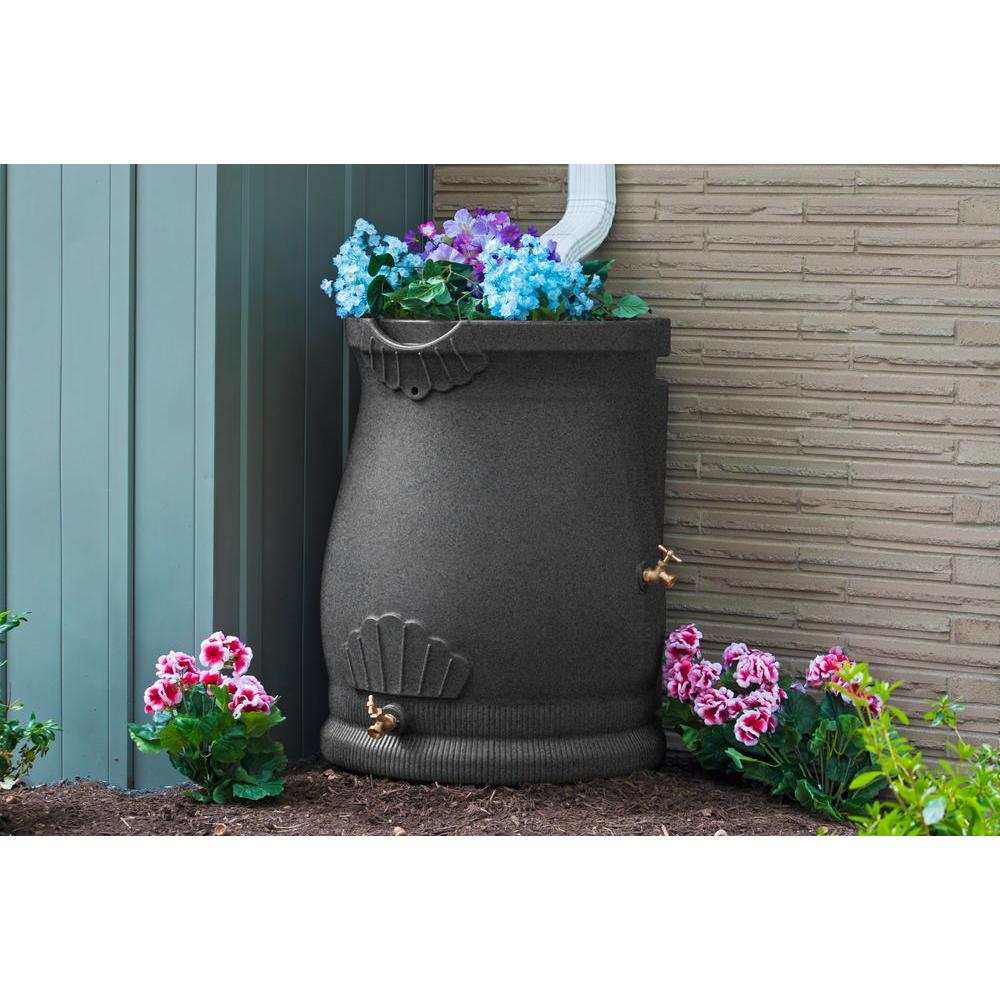
The Rain Wizard Urn 50 has the beauty and the design that fits into any garden, yard, or landscape. It has a 50-gallon capacity with a self-draining planter top and a built-in overflow channel. The barrel is made with durable polyethylene resin, which withstands nature's harshest elements. It is also highly resistant to mold, rust, mildew and rotting, making it a great piece to use long term. The Rain Wizard Urn features an exterior design of curves, lines and flourishes that stand out in any garden or landscape, while the design enables it to place the barrel against walls and enables to save space for other accent pieces and decor. The top of the barrel can act as a planter space for a variety of flowers and plants, and includes a unique watering system that directs excess water from the barrel itself. It also features a channel that is built into the unit's rim, redirecting any overflowing water away from the barrel and home foundation. There are 2 brass spigots that can be used to attach hoses or fill buckets for additional overflow or linking to other barrels. It is available in different colors to choose from and comes with a 1-year limited warranty on parts and service.
Available In: Dark Granite, Light Granite, Sandstone, Terra Cotta
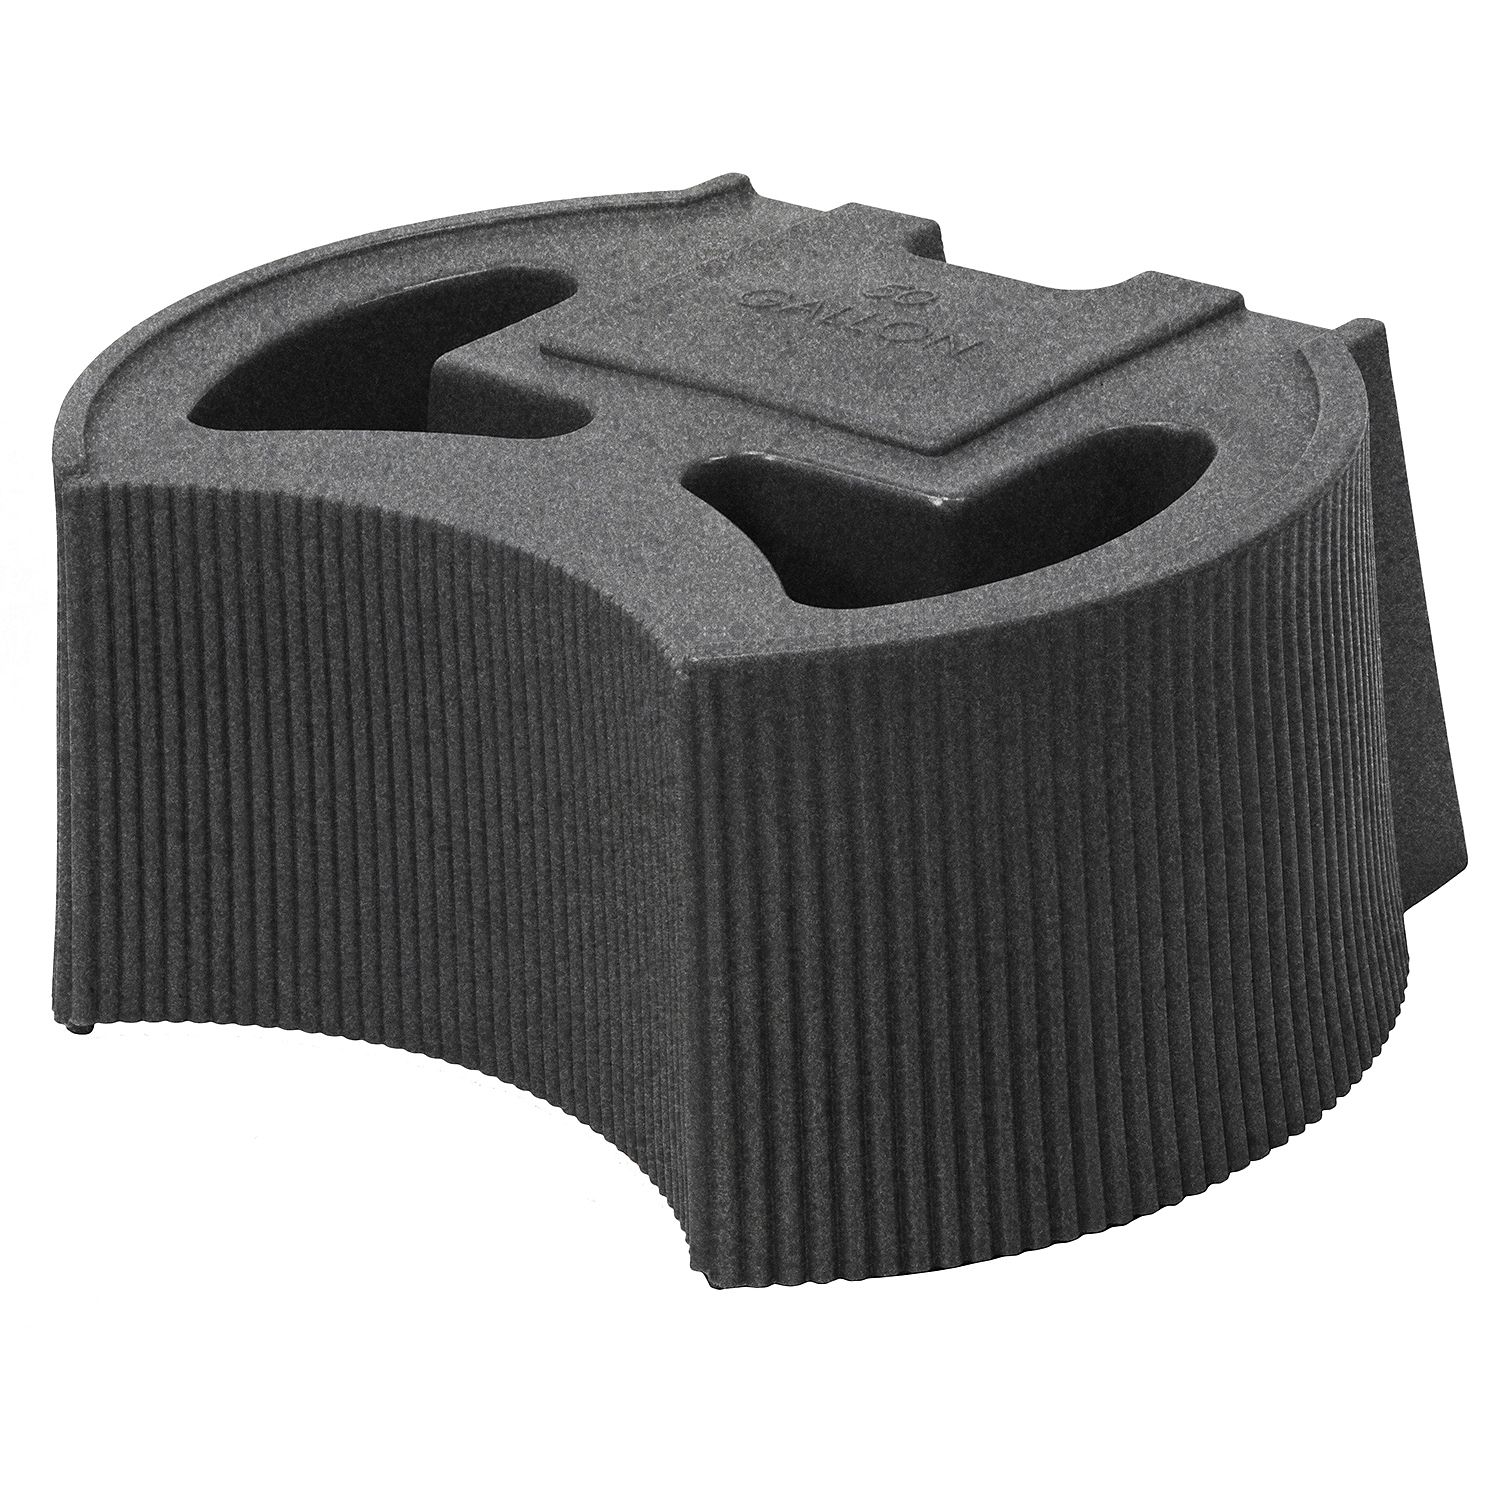
Also Available is the Urn Stand, photo above.
Product Documents
| For use in | Watering Gardens, Flowerbeds, Plants and other water uses |
|---|---|
| Application | * See manual for complete application instructions |
| Dimensions | 30" x 22" x 23" at 17 lbs. |
| Material / Construction | UV-resistant Polyethylene Resin |
| Special Features |
Self-draining planter top Built-in overflow channel Flat back design to reduce footprint Link-able to other barrels for increased capacity Front, screened overflow to keep water away from home's foundation |
| Warranty | 1-Year Limited Warranty - Parts and Service |
| Parts Included |
50 Gallon Rain Barrel Brass Spigot Teflon (plumbers) Tape Trilingual Instructions |
| Shipping Weight | 24.00 lbs |
| Manufacturer | Good Ideas, Inc. (Mfg. Number: RWURN50-DAR) |
| UPC | 00818755012403 |
There are no reviews for this product yet. Be the first.
There are no questions for this product yet. Ask the first.