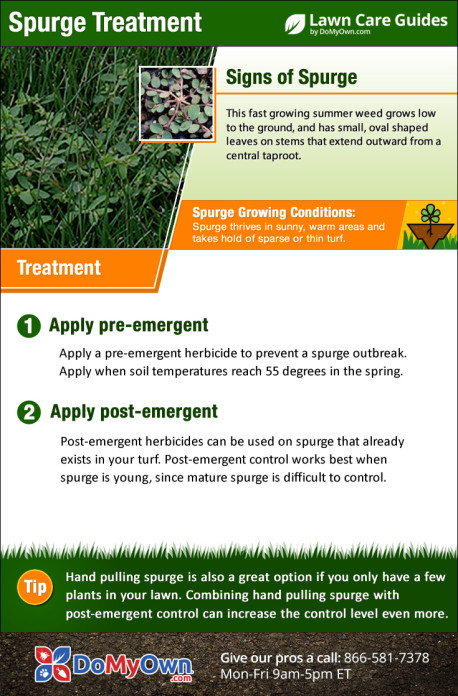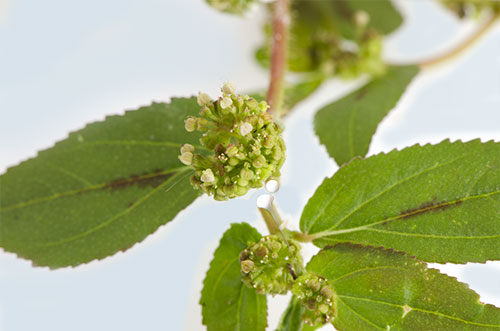
Spurge is a weed that can be very hard to control due to its quick seed production and roots that take hold fast. However, with the proper techniques and products, you can control spurge and possibly even prevent an infestation before it starts.
Use A Pre-Emergent Herbicide Treatment
Pre-emergent herbicide is intended to prevent weeds before they bloom (or "emerge" as the name implies). A pre-emergent herbicide treatment is especially important if you have previously had a spurge problem in your yard.
When it comes to pre-emergent herbicide treatments, remember the following:
- Timing is everything. Most pre-emergents herbicides are meant to be applied just before soil temperatures reach 55 degrees in the spring in order for the product to be present when seeds begin to germinate. Spurge begins to germinate when the ground reaches 60 degrees.
- In the fall, you would apply your pre-emergent herbicide once temperatures drop below 85 degrees but before the first frost of the year.
- In the spring, apply your pre-emergent herbicide before temperatures rise and weeds begin to germinate. Contact your local extension office for timing advice for fall and spring pre-emergent treatments.
- Some pre-emergent herbicides have specific instructions for best use, such as a freshly mowed lawn prior to application or watering the lawn after application. Read the label of your pre-emergent herbicide carefully and follow all steps.
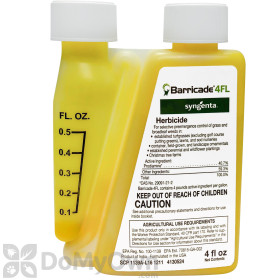
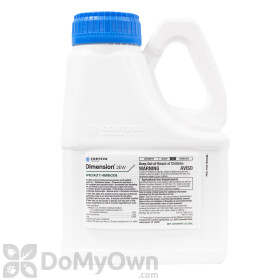
- Select a pre-emergent herbicide that is labeled for spurge, such as Dimension 2EW, Prodiamine 65 WDG, or Ferti-Lome. Check the label of your pre-emergent to ensure it is safe to use on your grass type.
Watch the video below to learn how to apply a pre-emergent herbicide.
Products needed for Step 1
Use A Post-Emergent Herbicide Treatment
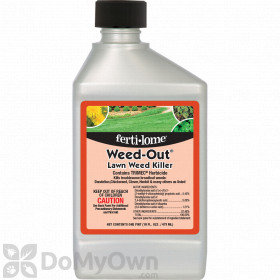
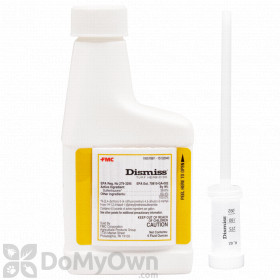
Post-emergent herbicides treat weeds that have bloomed and are active in a lawn. By choosing a post-emergent herbicide treatment that is labeled for spurge, such as Ferti-Lome Weed-Out or Dismiss Turf Herbicide, you can kill spurge weeds.
Spurge responds best to post-emergent weed killer when the weeds are young; mature weeds are harder to kill.
You will most likely need to complete multiple post-emergent herbicide treatments. Consult the label of your chosen post-emergent herbicide for how often the product can safely be reapplied and the effect the herbicide will have on your lawn. Not every post-emergent herbicide is labeled for every grass type. Refer to the label to determine if a post-emergent herbicide can be used with the grass in your lawn.
Watch the video below to learn more about applying post-emergent herbicides.
Products needed for Step 2
Pull Spurge Weeds By Hand
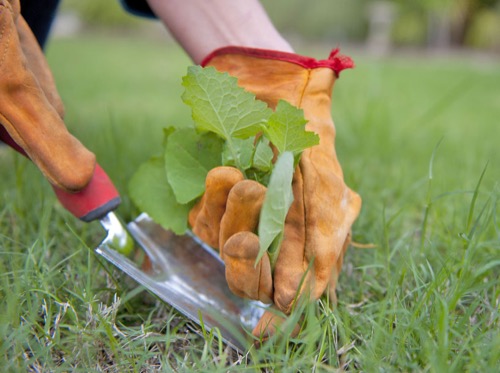
If you missed your window for applying a pre-emergent herbicide treatment or simply missed a few spots in your lawn with your treatment, there is a simple way to address the few weeds that appear in your lawn - pull them out by hand. Pulling by hand is advised if you only have a few spurge weeds. If you have more than a few weeds, a post-emergent herbicide should be used.
When pulling spurge from your lawn, keep some things in mind:
- Spurge weeds have a main root, called the taproot, that stems grow from. The taproot must be destroyed to ensure the plant is dead.
- Wear gloves! Spurge produces a white sap that is an irritant to skin and eyes when stems are broken. We also advise you to wear long sleeves and protective eye goggles while pulling.
- Wash any garden tools (rakes, hoes, shovels, etc.) that you use to pull spurge weeds after the weeds have been removed. If you don't, seeds can be transmitted to other areas of your lawn.
- Never leave pieces of the plant on the ground, as it will just grow again. Instead, dispose of your weeds in compostable bags or as instructed by your trash and recycling service.
Post-emergent herbicide treatments can be used in conjunction with hand-pulling weeds. After a weed is pulled, keep an eye on the ground where the taproot was pulled from. If anything starts to grow back in that area, spray as soon as possible with your post-emergent weed killer.
Products needed for Step 3
An annoying spurge problem can be greatly reduced or even prevented with a few simple steps. Read our guide on how to prevent spurge in the final part of our 4-part guide. Click the right arrow below to learn more.
